
DIY Pottery Barn Media Console Knock Off
I have a love/hate relationship with Pottery Barn. I love the look of their stuff, definitely the style of home furnishings I gravitate to, yet not always a fan of the prices particularly for the quality which I don't always find to be superb. So we were in the market for a new media console. The IKEA one we were using from my husband's single days just wasn't cutting it. So I came across the Clerks Console table from Pottery Barn and of course loved it. The French bluish color really appealed to me because I have that color in my family room area rug. The price was around $1,700. Our crazy talented family friend DIY'er had already convinced me that painting second hand furniture was the way to go so I was up for this new challenge (see my post on our painted hutch HERE). So I was on a mission to find a piece of furniture that I could transform into a similar piece as the Clerks Console. My first trip out to a local estate/used furniture store I was shocked to have immediately spotted a dresser that I knew was going to work perfectly.
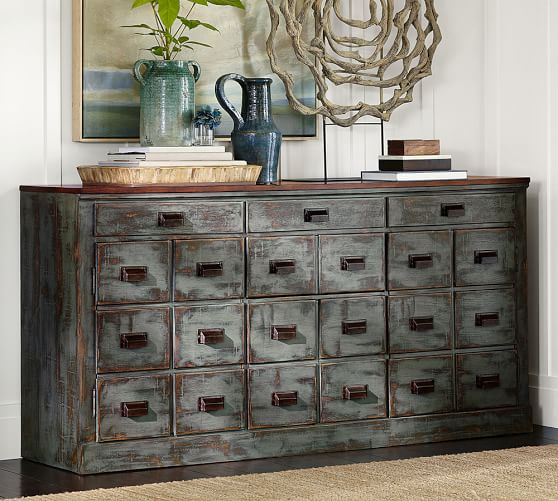
My inspiration piece from Pottery Barn. Photo courtesy of potterybarn.com.

The dresser I found at a local used furniture store.
I really liked that it appeared to have smaller drawers that reminded me of the Clerks Console inspiration piece. For 75 bucks this baby was mine.
The first thing I did was strip the top because I wanted to stain it darker. I stripped, sanded, and stained the top then added a few coats of varnish. I removed all of the hardware, and the fronts to some of the drawers by cutting them off the internal base. My husband was going to create hinged fronts to the drawers in order to accommodate our media components. I then created my own chalky paint mixing flat Valspar paint from Lowes with some water and plaster of Paris.

Waiting for the top to dry.


Sanding away in my pjs!
When you use a chalky type of paint there is no need to sand or strip so I just painted over the whole dresser. I did do two coats although in hindsight I probably only needed one for this project. After the paint thoroughly dried I took sandpaper and distressed the heck out of it. This to me was the most labor intensive part. I then dusted everything off, gave it a good wipe down, and then applied Annie Sloan's dark brown wax to seal it. I am so happy I went with this wax versus a clear. It transformed the color and made the piece look more aged. I was originally going to purchase new hardware but the hardware it had doesn't bother me that much so I am holding off for now. All in all, I could not be more pleased with the final result. I borrowed the wax from a friend so my final cost for the whole piece was under 150 bucks. Not to shabby.

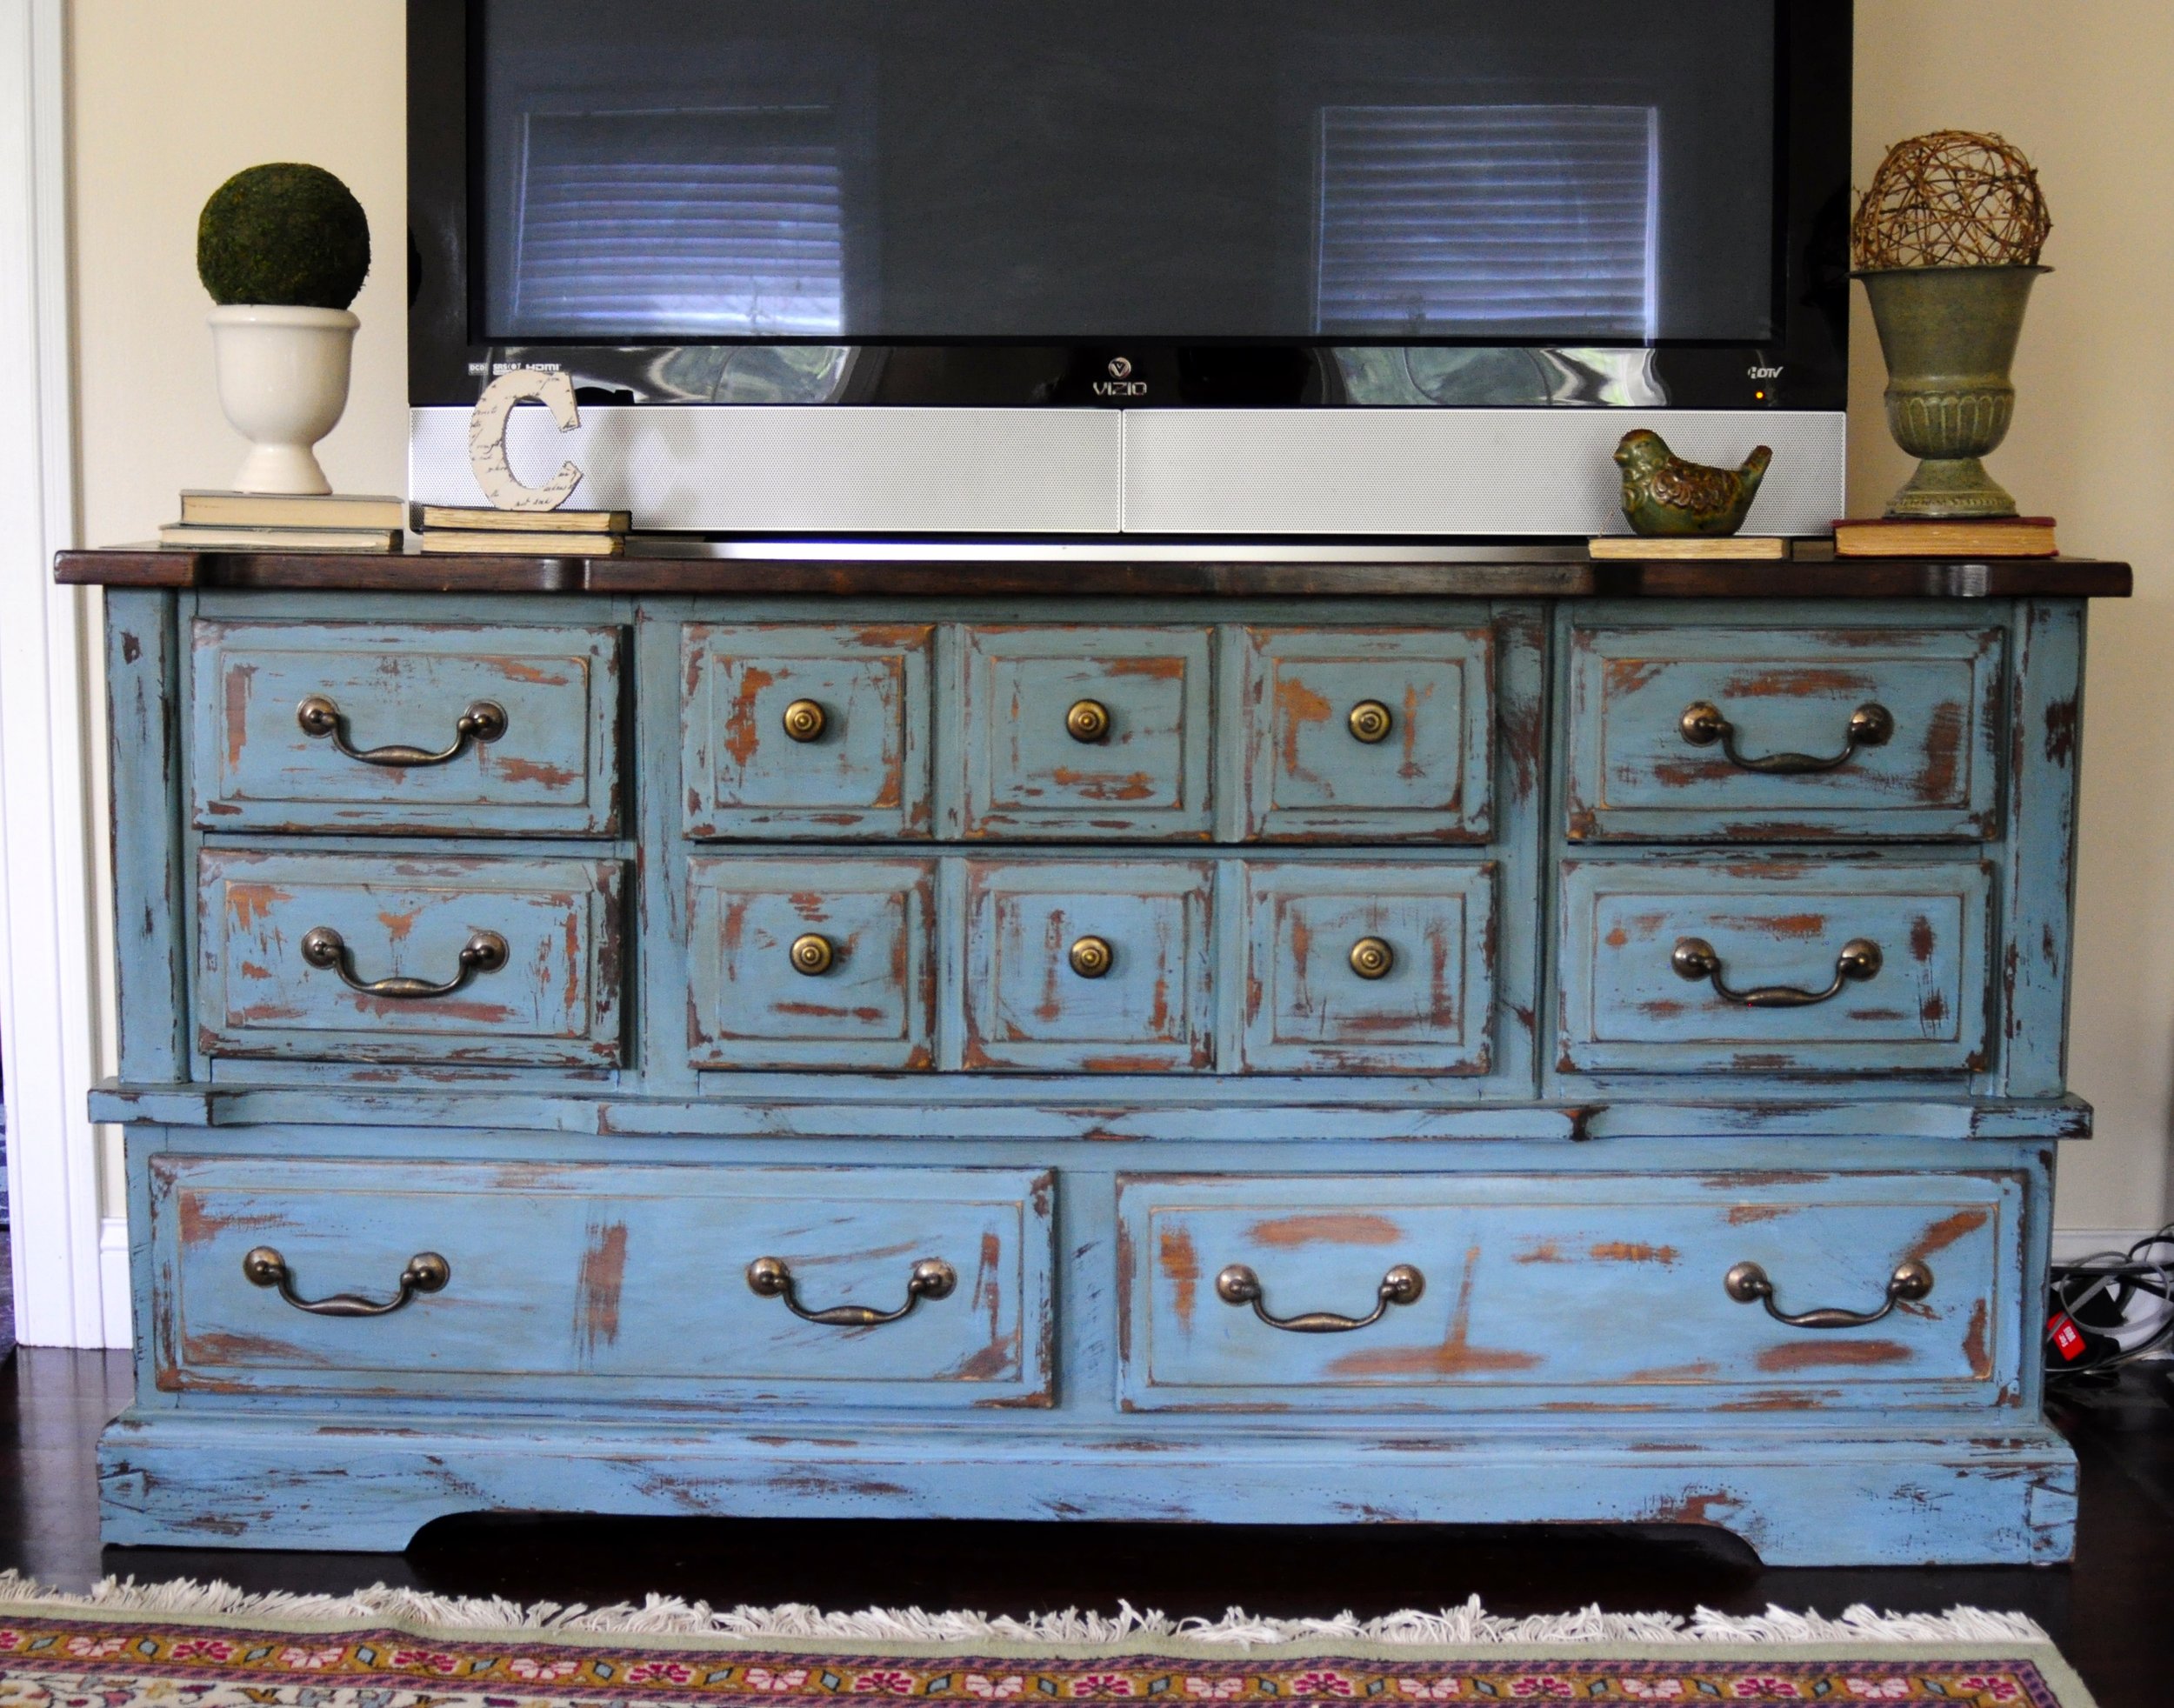
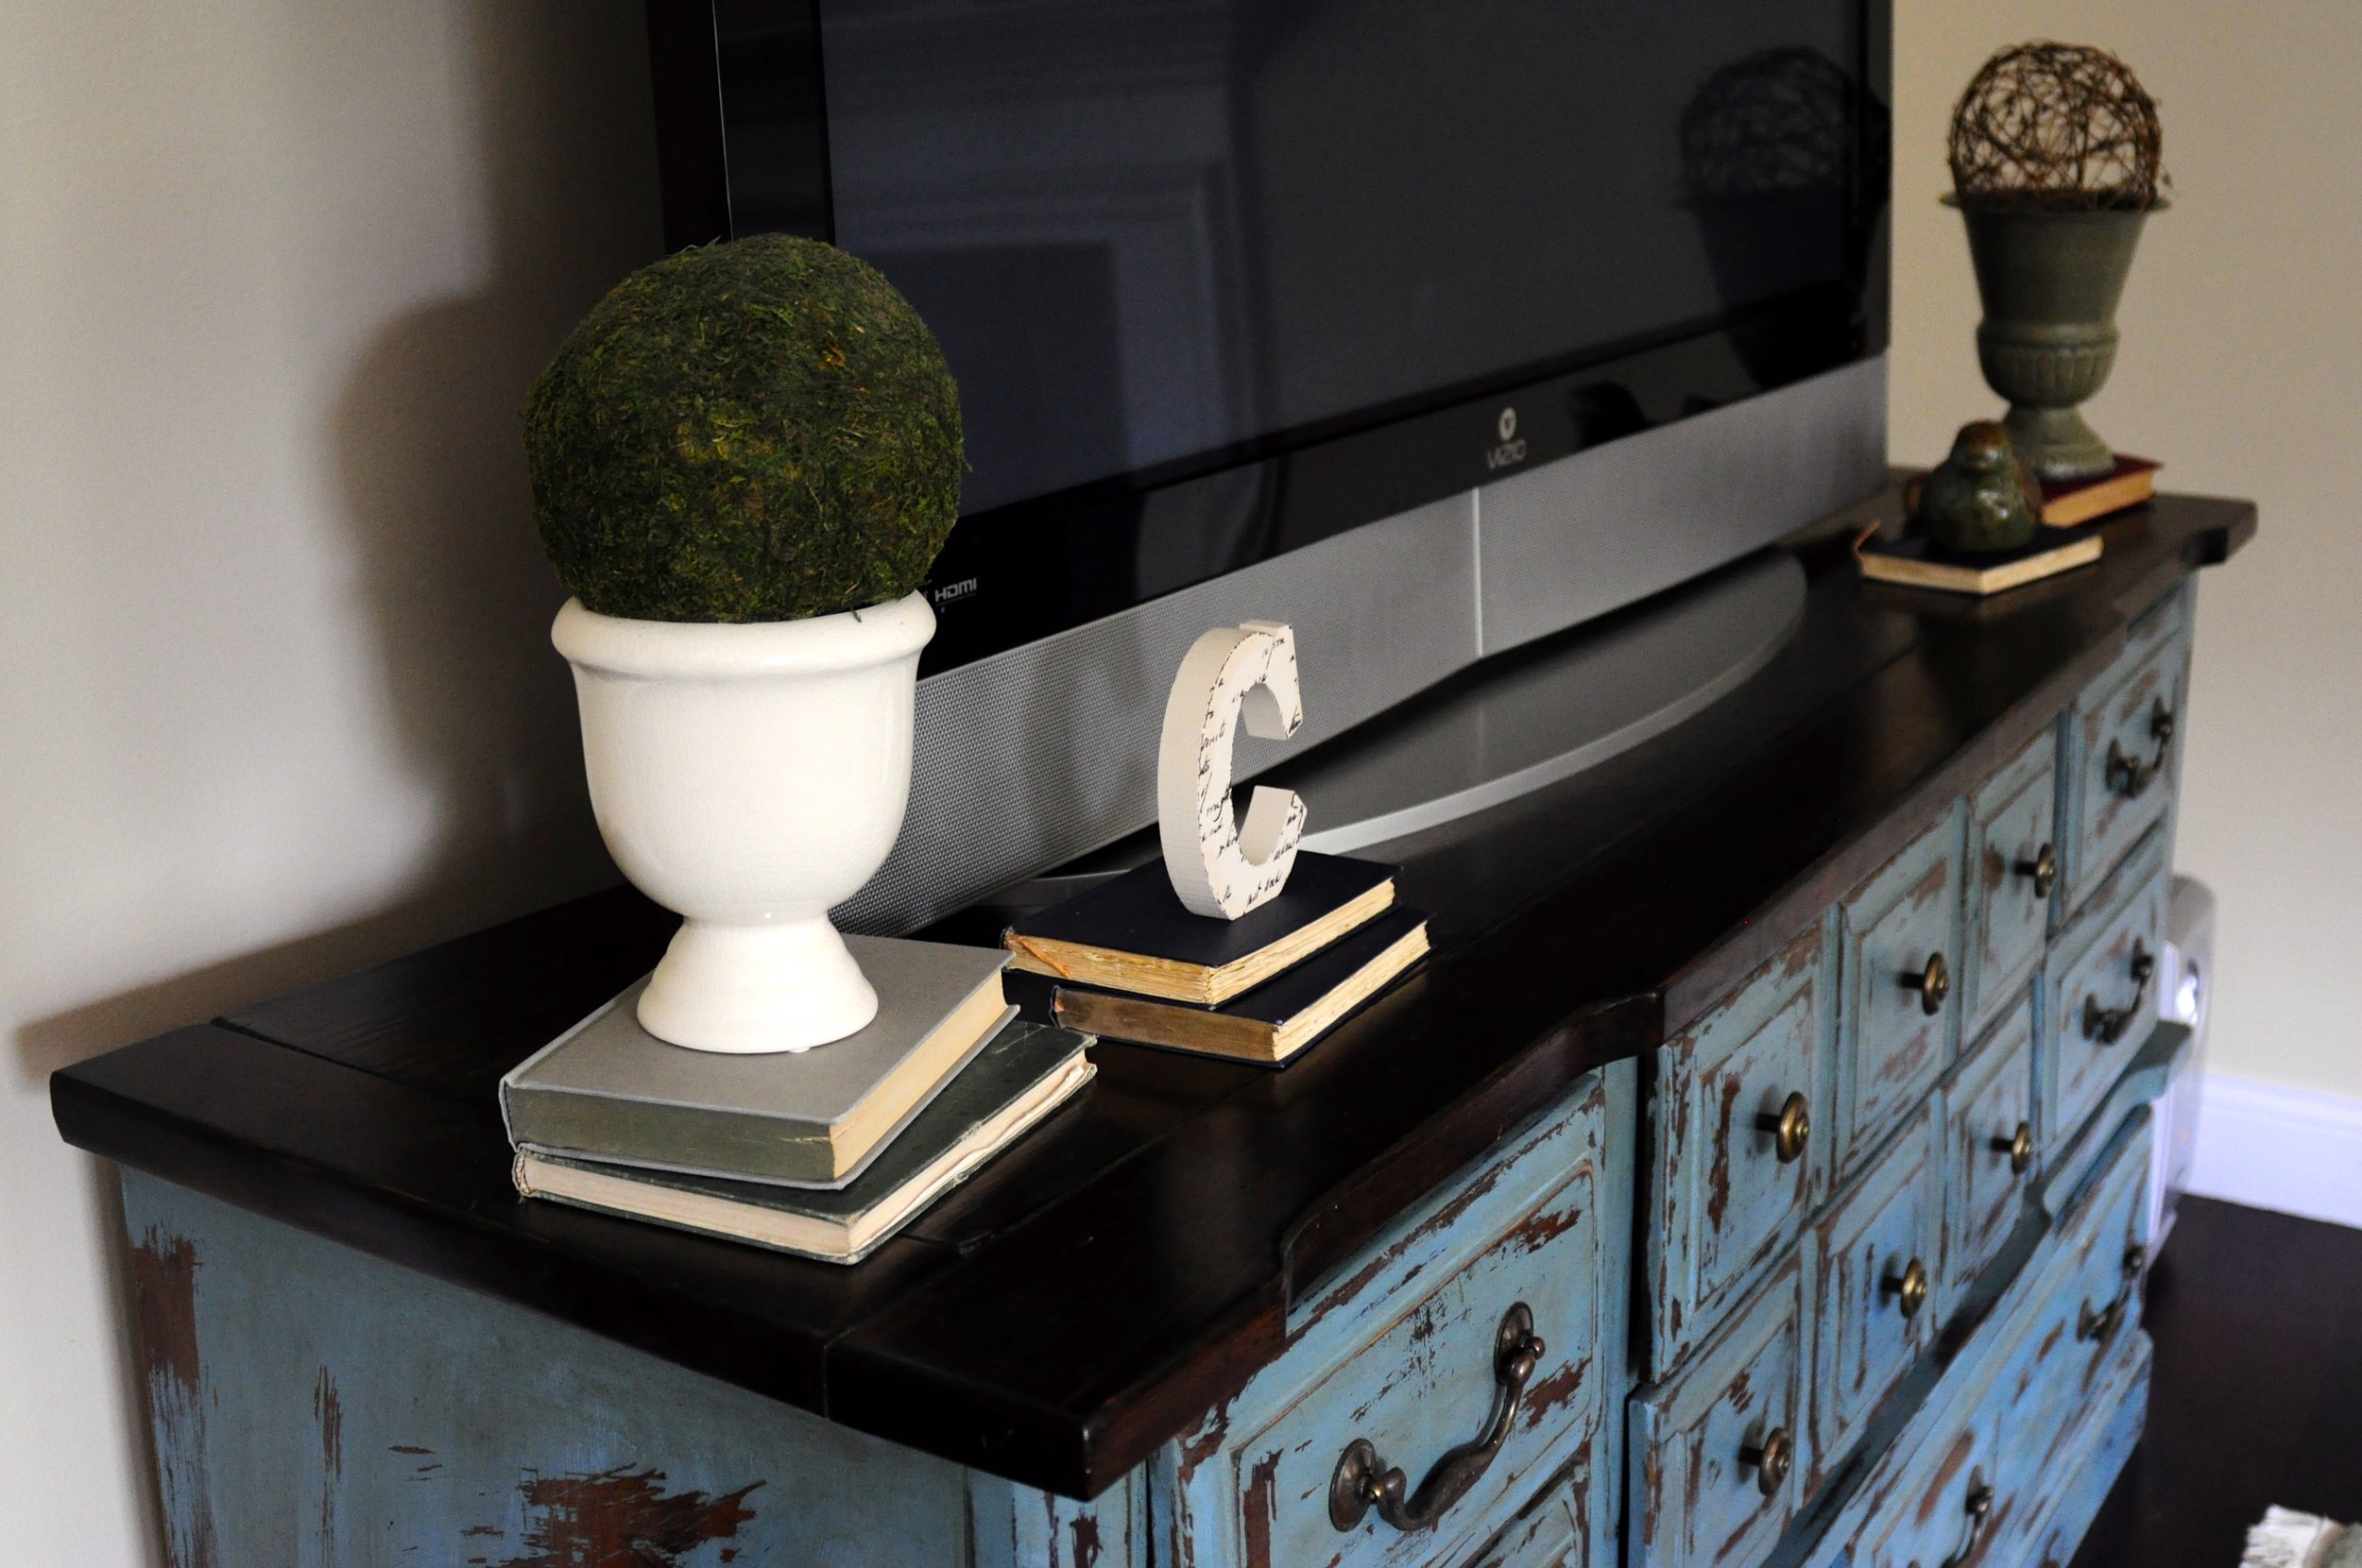
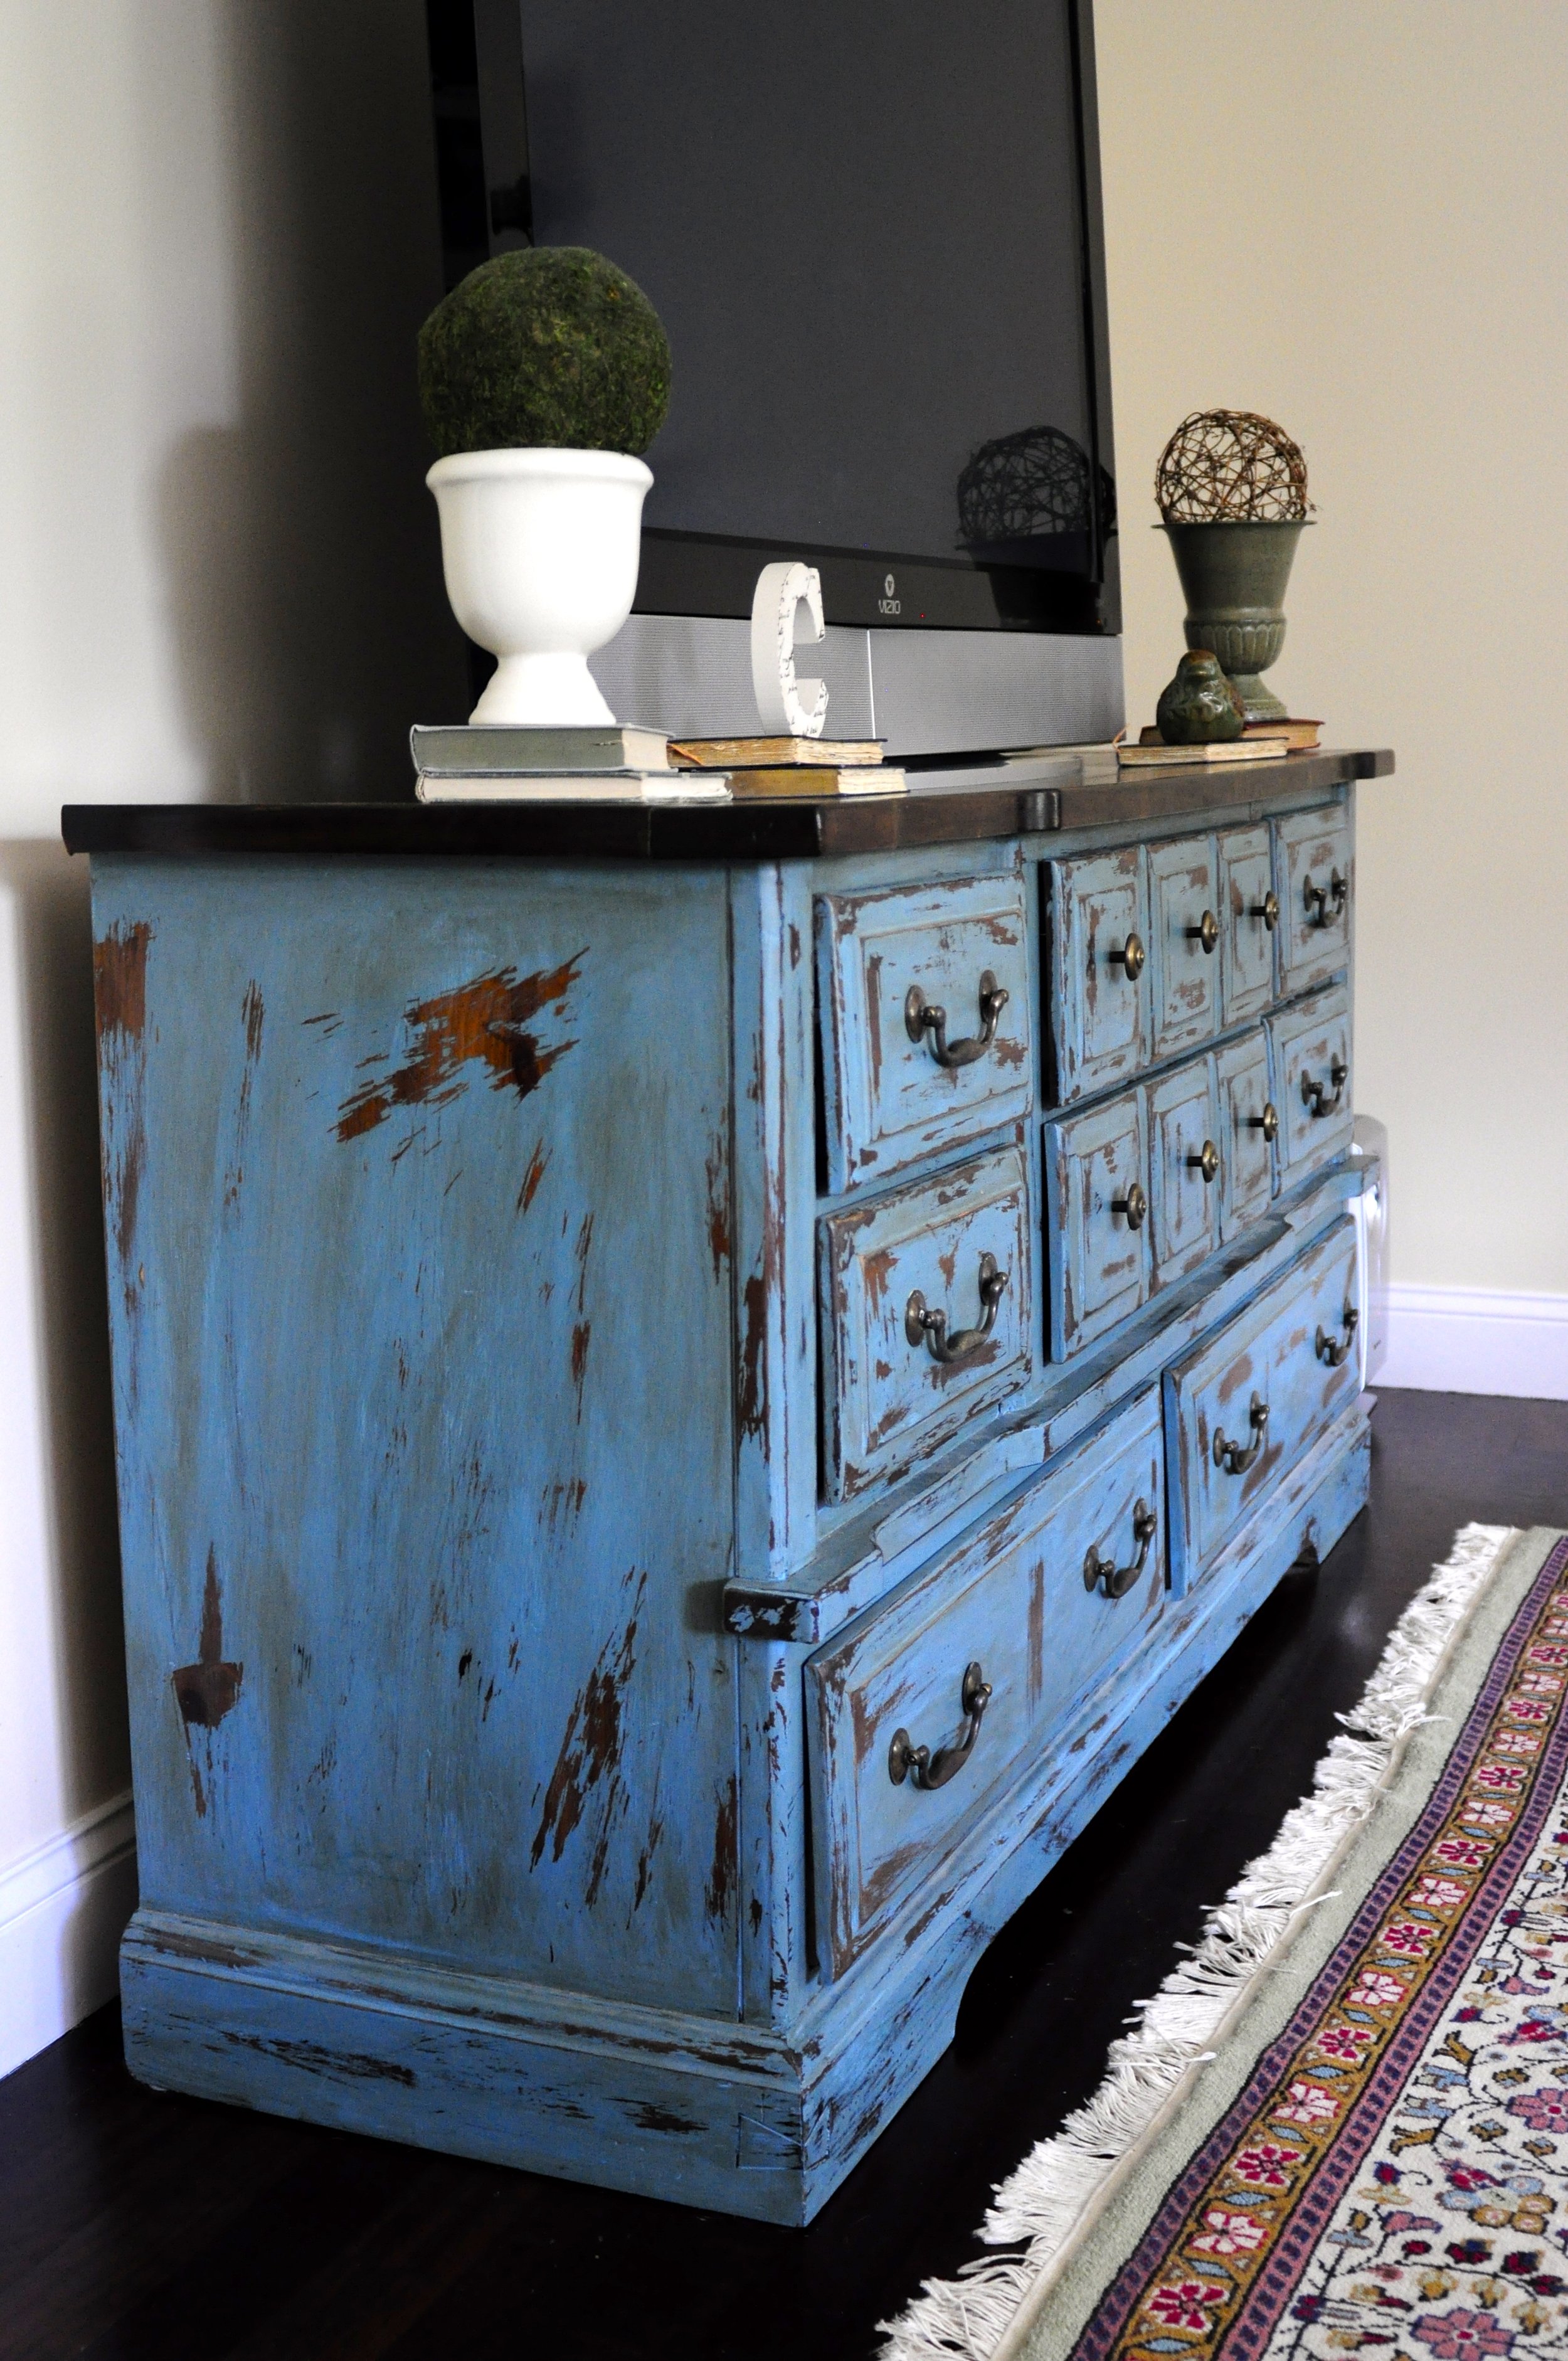

By the way, all of the top drawers are now no longer drawers. They are hinged and pull down flat. My husband installed boards inside for shelving to hold our media components, and the large bottom two drawers we use for storage, dvd's etc.